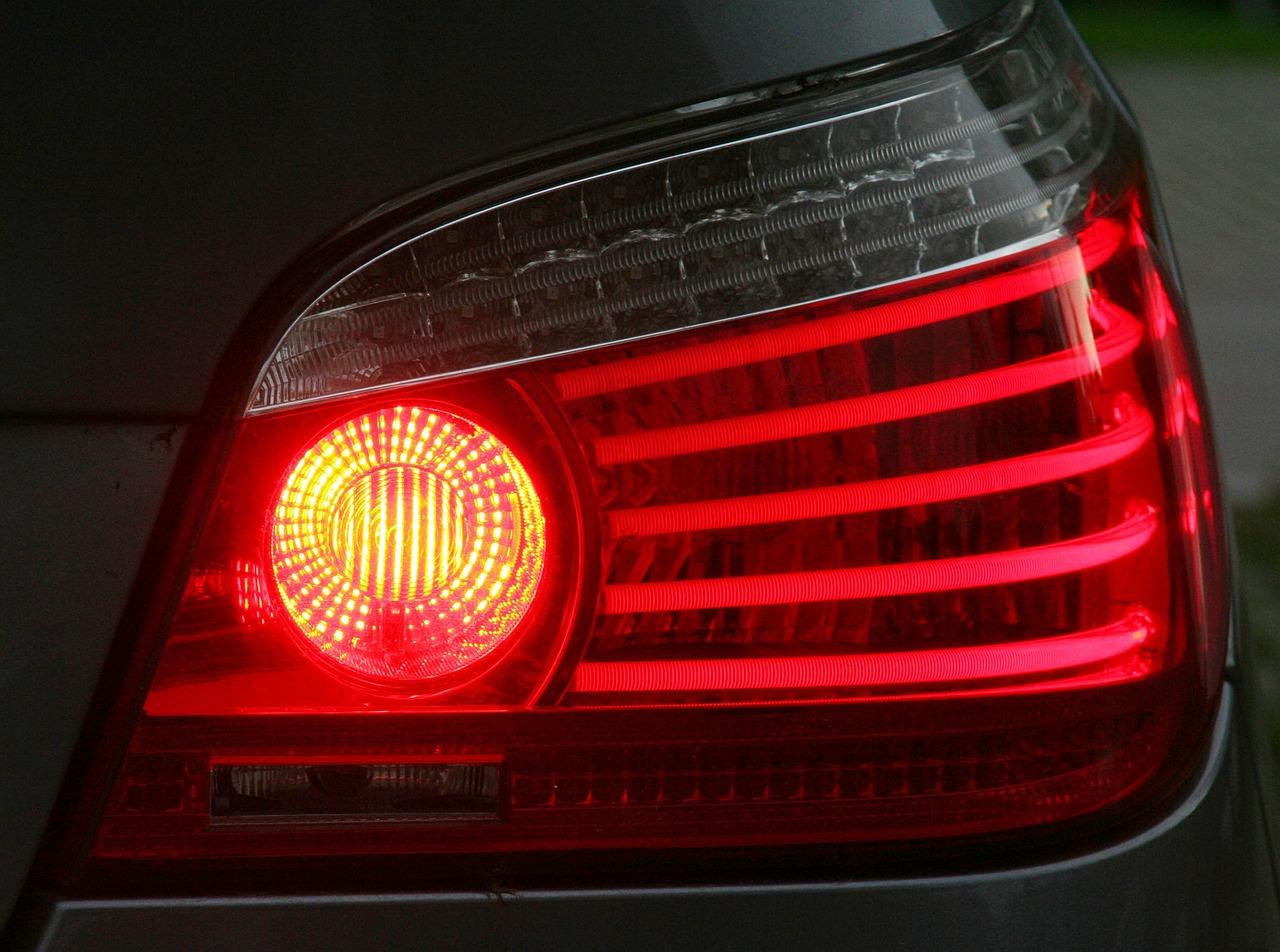
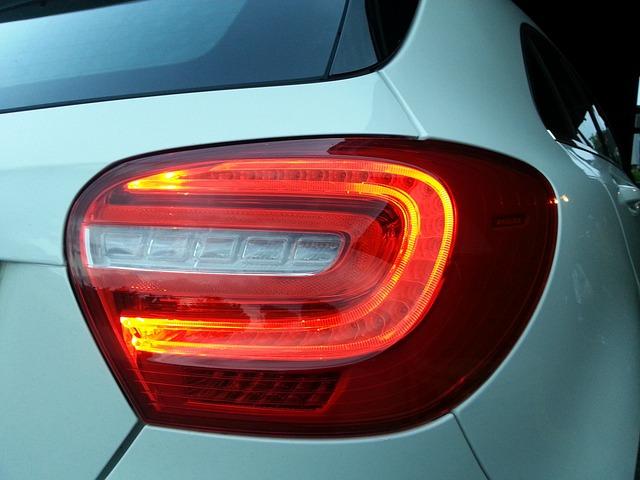
As a car owner, you should always be concerned about each component of your car. Otherwise, it’s impossible to prevent damage or pay extra fines on the road. One such part is the brake light. A faulty brake light can lead to severe accidents on the road, and you can even get caught by the police.
In this case, it is important to check it regularly. Now talking about how to check the brake light yourself? It’s easy and can be done in less time. There are several methods of checking brake wear, which is quite simple and can be done without any prior experience. One such method is brake light testers.
However, you may not know how to do it. No need to worry. This article is arranged with all the possible methods step-by-step. So read the entire article if you want to check the brake lights yourself without the help of an expert.
Read also: How To Fix Sloshing Sound In A Car?
Possible Methods To Check Brake Light By Yourself
If you want to check the brake light by yourself, knowing the following methods are vital. Without the proper knowledge, you can’t perform this. So look at them carefully and get the job done quickly.
Method 1: Using A Pole or Broomstick
The first and easiest method to check or test your brake lights without taking help from others is utilizing a pole. To get the job done quickly, follow the guidelines below.
Step 1: Gather Necessary Materials
Collecting and gathering necessary tools and hardware is vital to complete the job. For this task, you need a broomstick or wooden stick or whole broom, a painting or basic pole, and a mop. The broomstick here works as a closet rod. Fortunately, you can make it yourself at home. So you don’t pay extra money to buy it. This is why this method is cost-effective.
Step 2: Press the Brake Pedal
After collecting the required materials, now is the time to perform the main task. All you need to do is hold the broomstick, take the stick’s end, and attach it to the brake pedal to press hard. After that, proof the other side of the stick against the seat cushion securely.
Step 3: Check the Lights Behind
After attaching both ends with the brake pedal and seat cushion, go back to the car to observe the brake lights. Finally, you can see if there is any issue with the brake lights or not. If all the lights aren’t illuminated, call a professional or take your car into the garage. Or, replace the brake lights for better performance.
Note: You can use a pole-like product instead of a broomstick. But it will cost you. If you want to complete the task cheaply, using a broomstick can be the best option.
Method 2: Using Brake Light Testers
Another simple method is using brake light testers. These tools are very handy to check the brake by yourself. It tells the circuit conditions of the vehicle, especially the brake lights. If the circuits are fused, it shows the issue. There are plenty of options available right now. Buy one to check whether the brake is working or not.
Method 3: Using A Multimeter
Another way to check the brake lights is by using a multimeter. To perform the task properly, check the instructions below.
- First, ensure the multimeter is working correctly.
- Check if the voltage is working properly by touching the positive and negative terminals.
- After that, check the amperage is correct the same way.
- Now, insert the bulb into both connectors one to the positive and the rest to the negative.
- Press the brake pedal. You can get assistance here from your friend or colleague.
- Now, look at the multimeter dashboard and see if the voltage is 12V or more than 12V. If the voltage is 9 or 9.5+, understand the battery provides low voltage.
- Finally, check whether the lights are illuminated or not when pressing the brake pedal. If illuminated, understand the lights are OK.
Method 4: Using A Rearview Mirror or Window Glass
Using this method is an affordable way to check the brake lights. You just need to place the mirror or reflection glass and see the changes. Place your car near a window and press the brake pedal.
After that, look at the rear window in your home to ensure the brake lights illuminate or not. This way, you can understand which brake light is working and which isn’t. Alternatively, place the mirror behind your car to get a clear image. Choose a mirror with a bigger size to see a clear picture of both lights at the same time.
Method 5: Applying the Brake Pedal Press Tool
Another simple, affordable, and effective method would be applying the brake pedal press tools. The process is almost the same as using a broomstick or a pole method. This process includes applying the tools to the brake pedal. Apply the tool firmly as you hear the “Click” sound to activate the reak brake lights.
After that, go back to the rear of the vehicle to see if all the brake lights work well or not. Replace the failed or bad lights and test again.
Method 6: Using Golf Club Head and Wedge
The golf club head is wider than a broomstick or pedal-pressing tool head. Though the method is similar to the broomstick or pedal pressing, it might be fruitful. The wider head presses the pedal firmly and the rest part (wedge) presses the cushion perfectly. This way, you can test the lights without involving others.
Method 7: Using Your Phone Camera
If you don’t want any hassle, try it. This method can be applied anywhere anytime. Just take your phone, on your camera, place the mobile behind the car, and start the video. Remember to put a bottle or any other objects to keep the mobile in place.
Afterward, go to the driving seat and press the brake pedal hard. After pressing the brake lights will lighten up and the video records tell you the result.
Method 8: Check the Brake Light at Nighttime
According to Despair Repair, checking the brake light without involving others or taking hard and fast rules is checking them at night. These methods often fail, but you should try them. In this case, reverse your car to a pillar or a wall for a better view.
After positioning the car in the right place, press the brake pedal forcefully. Then, you’ll see an illumination on a pillar or wall. This method is applied only when you have no option.
Alternatively, you can place a brick on the brake pedal to examine the brake lights. This is also an effective method when you are on the road, and can’t find a better option.
Conclusion
As a car owner, you should manage the entire coronet, and checking them over time is required. Without maintaining or checking routinely, the car will not be going to give you the best. Brake lights are an important component that should be checked from time to time. If the brake lights are not working accurately or fail, there is a chance to meet severe danger.
Therefore, you should test them for better performance. There are many options to check the brake lights manually or professionally. But how to check brake lights by yourself? The possible methods are described thoroughly to eliminate the hassle of checking brake lights.